Okey, for your informastion Nessus is a proprietary comprehensive vulnerability scanning program. It is free of charge for personal use in a non-enterprise environment. Its goal is to detect potential vulnerabilities on the tested systems.
Oke, let's try to install Nessus..
1. Download the installation packet from the official page at www.nessus.org. But you can also just type the command below to your terminal if you already are connected to the Internet.
Then you will be prompted to enter a name and password, and then you will see a notification, whether the user is made to be used as an admin? Just type 'y' for yes. Then just press enter for empty rules set if you dont won't set the rules.
3. Then, once again will apear confirmation that user you have made will have 'admin' priveleges the Nessus server Rules. Type 'y' for Ok. Then user will added.
4. And then, register to http://www.nessus.org/register/ to get an activation key for next installation Nessus. Select the version you want.
5. I choose the Home version. For your information the Home version can scan your personal home network (up to 16 IP Address). Then click "Agree" to continue
6. Insert your first name, last name, and email for send activation key. Then click Register.
7. Thank You For Registering! Check your email register account to get an activation key.
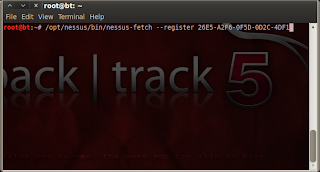
8. Open your terminal, then enter command below include your activation key.
root@bt:~# /opt/nessus/bin/nessus-fetch --register xxxx-xxxx-xxxx-xxx
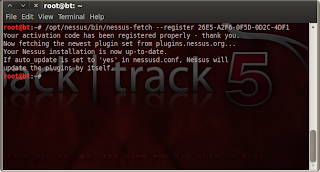
8. If you are enter right command and correct activation key, then wait for fetching a newest plugin.
10. Run the Nessut with this command in terminal.
root@bt:~# /etc/init.d/nessusd start
11. Open your browser, then navigate to "https://127.0.0.1:8834/" or https://localhost:8834/. Will see loading Nessus Initializing, wait until finished.
12. And then login screen will appear, login with your account that has been created.
13. Nessus is ready to use.


0 comments:
Post a Comment
Comment in here...